Wednesday, July 31, 2013

Halloween Wreath


I had a night with nothing going on for once and so I decided to tackle a project I have been eying for awhile. I have always wanted to try and make a deco mesch wreath. I decided to start with a Haloween themed one because I would be able to use it sooner then the Christmas ones I have planned. 

The supplies I started with
I started with the larger roll of mesch and started by gathering and tying off on the inner circle and then moved to the outer circle.
This is the wreath after finishing the outer circle. 
I did not take any pictures while adding the orange ribbon or the purple beads, I apologize, I just got so wrapped up in this project I completely forgot.


And this is after I added the orange ribbon and purple beads. I had to hang it on my door for the full effect, however have had to take it down because it is only the end of July.


Tuesday, July 30, 2013

A Weekend Camping

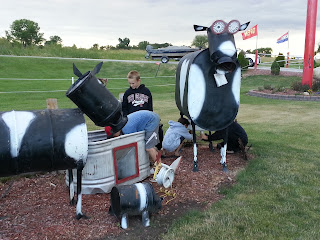
Here are a few pictures from our weekend getaway with friends camping. We stayed at Lazy Acres Campground. I would recommend it! Enjoy!


Just a peek into our weekend

Homemade Convenience Food

Canned Ground Beef

I love home made food, and something that is convenient, however i do not love all the "extras" in processed food. So I decided it was time to make some convenience food of my own. 

Canning ground beef is not hard, it just takes a little time. But a little time now can save you lots of time later. Especially when you are running late, forgot to thaw something for supper, games and practices take up your evening. How easy is it to grab a jar, and make maid-rites, or the start of cheeseburger soup, cheeseburger roll ups etc. The possibilities are endless.

Start with browning your ground beef


Then drain off all the grease. 


Be sure to have your lids simmering on the stove and your jars hot and sanitized. I wash mine in the dishwasher while preparing the food. 


After packing the ground beef into jars, i add hot beef broth to the jars.


Add your jars to your pressure canner. I have added a video below for first time canners to you can see what your weighted top will look like when it reaches proper pressure and begins to rock gently. 


Process at 10 pounds of pressure. Pints for 75 minutes and Quarts for 90 minutes.

Allow the canner to drop to zero pressure after processing, then wait an additional 10 minutes before opening the canner. Place jars on a cooling rack or towel to cool for 24 hours and listen for the "ping" of sealing jars. I personally love that sound. It tells me my hard work has paid off and there is healthy home made food for my family.