Tuesday, July 30, 2013

A Weekend Camping

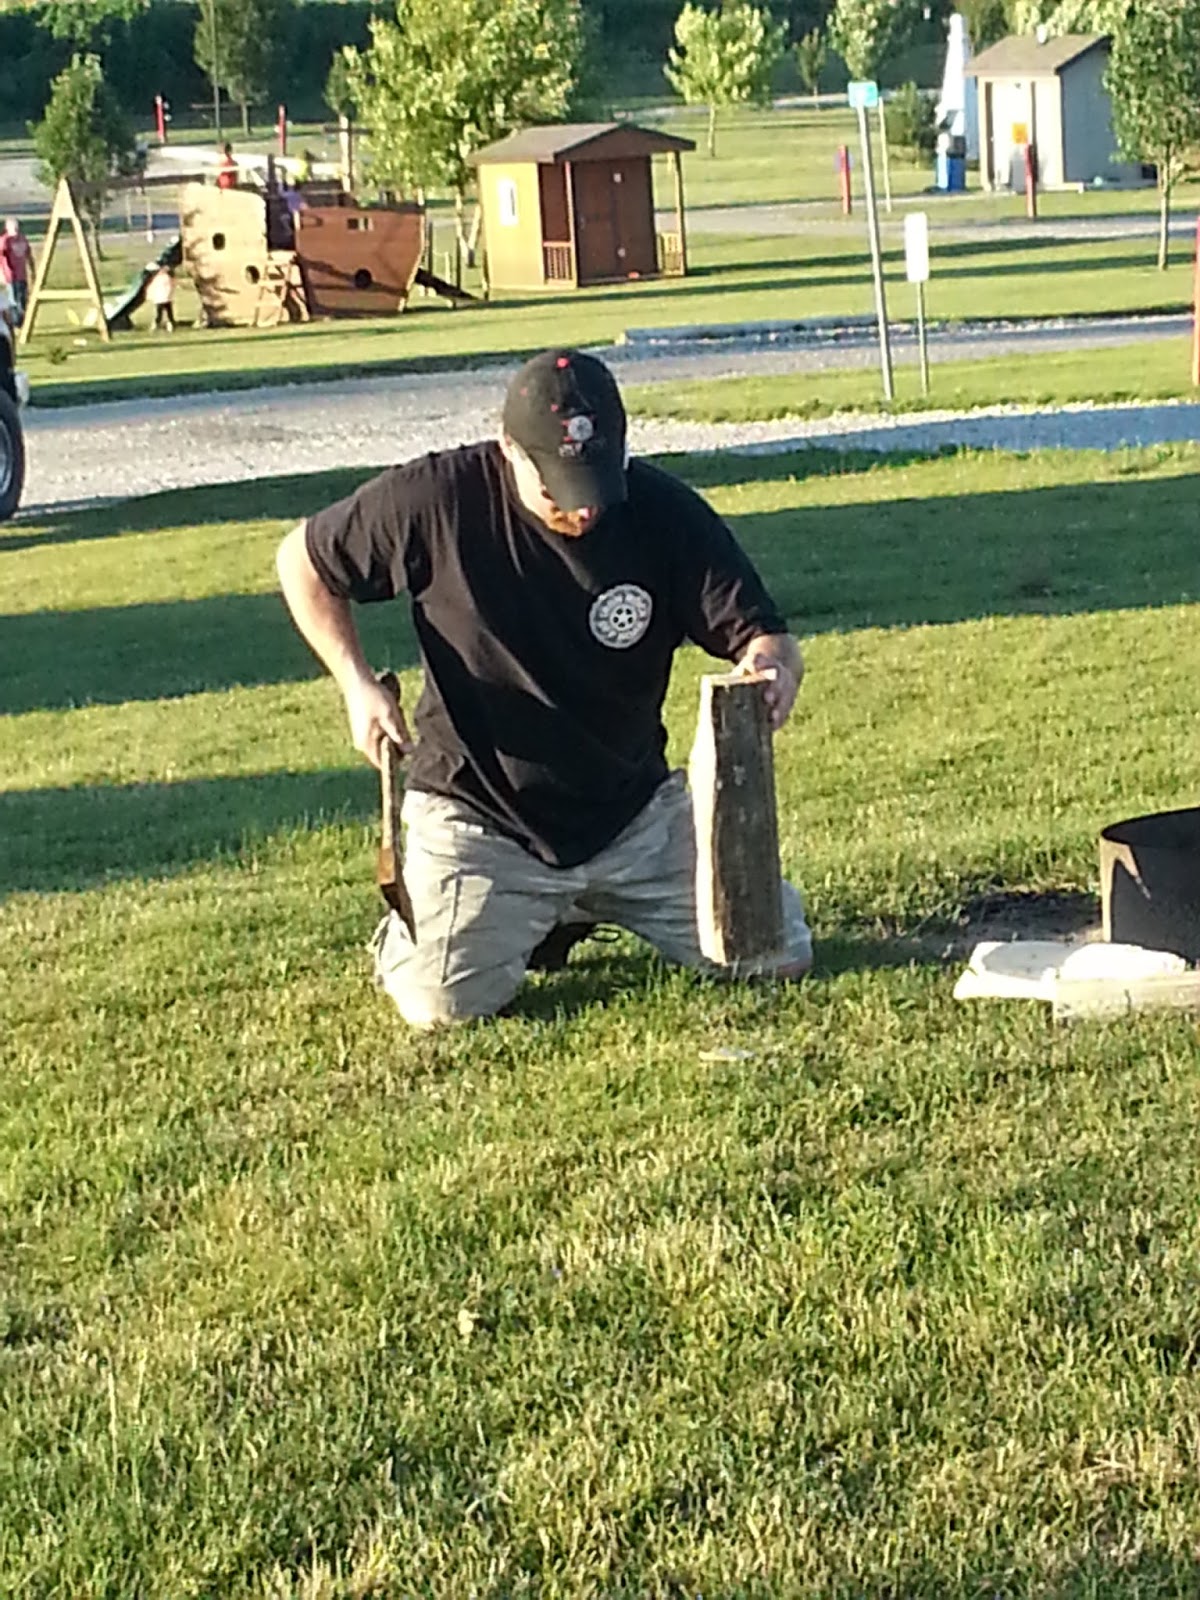
Here are a few pictures from our weekend getaway with friends camping. We stayed at Lazy Acres Campground. I would recommend it! Enjoy!


Just a peek into our weekend

Homemade Convenience Food

Canned Ground Beef

I love home made food, and something that is convenient, however i do not love all the "extras" in processed food. So I decided it was time to make some convenience food of my own. 

Canning ground beef is not hard, it just takes a little time. But a little time now can save you lots of time later. Especially when you are running late, forgot to thaw something for supper, games and practices take up your evening. How easy is it to grab a jar, and make maid-rites, or the start of cheeseburger soup, cheeseburger roll ups etc. The possibilities are endless.

Start with browning your ground beef


Then drain off all the grease. 


Be sure to have your lids simmering on the stove and your jars hot and sanitized. I wash mine in the dishwasher while preparing the food. 


After packing the ground beef into jars, i add hot beef broth to the jars.


Add your jars to your pressure canner. I have added a video below for first time canners to you can see what your weighted top will look like when it reaches proper pressure and begins to rock gently. 


Process at 10 pounds of pressure. Pints for 75 minutes and Quarts for 90 minutes.

Allow the canner to drop to zero pressure after processing, then wait an additional 10 minutes before opening the canner. Place jars on a cooling rack or towel to cool for 24 hours and listen for the "ping" of sealing jars. I personally love that sound. It tells me my hard work has paid off and there is healthy home made food for my family.

Monday, July 22, 2013

JELLO Cookies


JELLO 
Cookies

Who doesn't love Jello? 
Who doesn't love pinterest? 


We were headed to a friends house for a last minute get together and I didn't want to go empty handed so Isabelle and I whipped these cookies up in about 25 minutes or so. This was a recipe that we have been wanting to try. Fun and adds  flavors to a traditional sugar cookie for a twist. 
We decided on Lime and Strawberry. Our version of the pinterest inspired idea.

Ingredients

Instructions

  1. Beat butter in large bowl with mixer until creamy. Add sugar and beat until light and fluffy. Blend in egg and vanilla. Mix flour and baking powder in a separate bowl. Gradually beat in flour mixture.
  2. Divide dough into 4 sections. Sprinkle 2 Tb of jello onto each section. Knead together with dough. You may want to add a few drops of food coloring to make the dough more vibrant.
  3. Shape dough into 1-inch balls. Roll in the extra jello from the packets. Place, 2 inches apart, on baking sheets. Flatten with bottom of bowl.
  4. Bake 8 to 10 min at 350 on lined baking sheets. Cool on baking sheets 2 min. Remove to wire racks and cool completely.

    These were fun to make and really easy. We decided that these flavors would be good at Christmas time because of the colors. Now she is excited to try some new flavors including grape, blueberry and orange. 

Friday, July 19, 2013

Watermelon Jam


Back to simpler times.....Back to basics......

Watermelon Jam
6 cups pureed watermelon (minus seeds)
5 cups of sugar ( I used 4 1/2)
1/2 cup lemon juice
1 package powdered pectin 

I started by cutting my watermelon in to small pieces and putting into my blender to puree them.


I then measured 6 cups of pureed watermelon and added them to a large pot. I added the sugar and lemon juice and brought the mixture to a boil. (Be careful this does foam up so allow extra room) I brought the mixture to 220 degrees and added the powdered pectin. From there you bring the mixture back to a boil for 5 minutes. 

Add the cooked mixture to your hot sanitized jars. Wipe the rims of the jars with a damp cloth. Add your hot lids and rims to the jar and tighten to a finger tight seal. 


Put your jars of jam into a water bath with 1 inch of water covering your jars. Process for 10 minutes. (be sure to add some vinegar to your water bath to help with the minerals in your water otherwise they will deposit to the outside of your jars)


After the 10 minutes remove the jars to cool. Place them on a towel or a cooling rack on the counter.  This is where you will hear the lovely ping of sealing jars. Leave them alone for 12-24 hours. Remove the lids for storage in a cool dark place. Be sure to check every jar for a proper seal. 


NOTE: This jam may require up to 1 week to firm up. Be sure to allow proper set time for this jam. 

Enjoy!


Tuesday, July 16, 2013

Fall is Around the Corner Lia sophia Style


ITS HERE!
Our new style guide has made its debut and all I can say is FABULOUS!
Something for every style and price point!

Four ways Regular price, Half Price, Hostess Bonus or FREE! 
It's up to you!


I love this company! I can honestly say that lia sophia has changed my life and given me the opportunity to meet some of the most wonderful women out there. I have made friends with women from all over the state of Iowa and the county. I am blessed to be able to call them my friends. 

Here are a few sneak peaks at whats inside


Want to see more? Contact me to see how!